Get Started with TronLink
TronLink is the most popular solution when it comes to interacting with the TRON blockchain. It is a completely free of charge application and as powerful as it is simple! This article is a step-by-step tutorial for the installation of the software and the creation of our first wallet. For a brief introduction to TronLink, please refer to another blog entry.
Presentation
TronLink is a community-developed TRON wallet application, and it is recommended by the TRON foundation. It is by far the most trusted and most popular alternative when it comes to storing TRX and interacting with the TRON blockchain. Indeed, it has the particularity to be much more than only a wallet for TRX, but it is a real gateaway to the whole TRON ecosystem. This includes interaction with all the possible coins running on TRON (TRX, TRC-10 and TRC-20 tokens) as well as a seamless integration of your wallet into the many dApps built on TRON, including DEX (Decentralized Exchange), DeFi (Decentralized Finance) applications, or games for example.
TronLink comes in three different flavors, a Chrome Extension, an Android app and an iOS app.
Installation
For desktop, use of the Chrome extension. For mobile, both an Android version available in Google’s Play Store and an iOS version available in Apple’s App Store.
Chrome extension
On desktop, TronLink works as an extension to the internet browser, Google’s Chrome or chromium-based browsers. Therefore, Brave browser, which is a great alternative for crypto lovers and that has been covered in a previous article in our blog, is also supported.
The Chrome extension is very similar to what Ethereum’s users get with the very handy MetaMask wallet.
Visit the Chrome Web Store and click on Add to Chrome to install the extension.
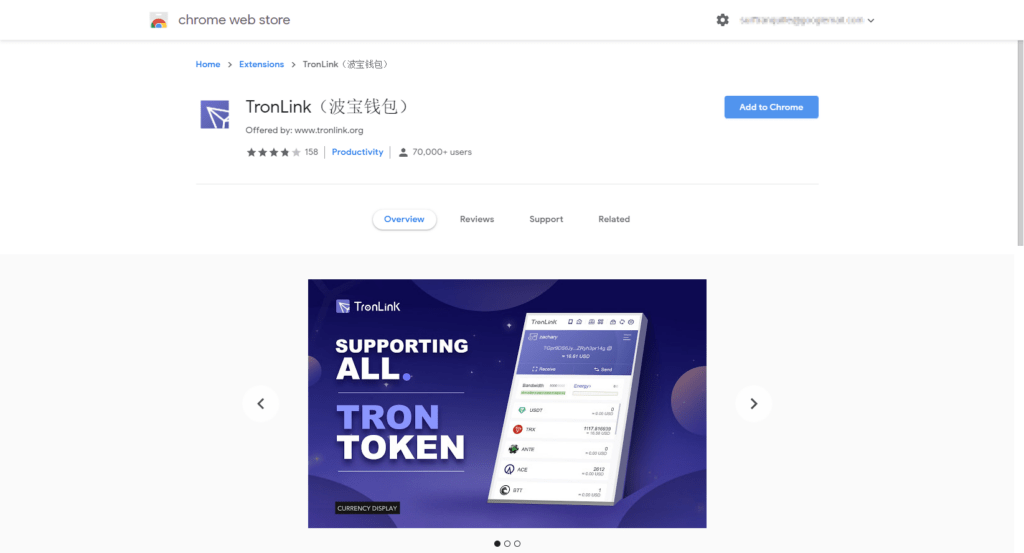
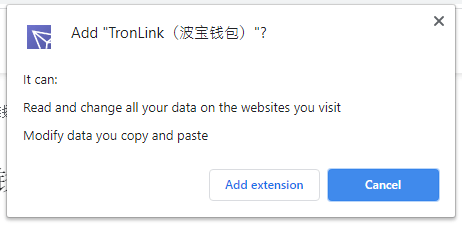
A pop-up will ask you to confirm as it needs permission to read and change all your data on the websites you will visit. Don’t freak out, that’s what makes the interaction between your wallet and the decentralized applications possible. So we do confirm and click on Add extension.
Once downloaded and successfully installed, you’ll get another pop-up thrown at you, confirming that everything went properly.
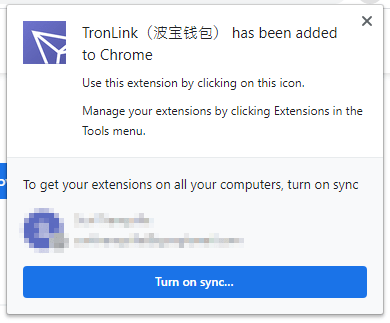
You can close this window and you will notice that the TronLink icon appeared just right next to the internet address/search bar.
![]()
Mobile app
When it comes to the app for mobile devices, the installation is even more straight forward. Either trigger your Google Play or App Store, look for TronLink, click and install!
Note that on Android, TronLink is named TronLink Pro. No problem with that, it’s only the name of the newest version that replaced an earlier version of TronLink.
Create a New Wallet
Whatever the version of TronLink you chose to install, from there the method and the visuals should be the same, whether you’re on desktop or mobile.
To access TronLink, either launch the app installed on your mobile, or click on the TronLink icon on your internet browser.
First launch
When you open TronLink for the first time, the application will ask you to set up a password. Regular rules for password apply, it has to be strong, not easily guessable from other people and obviously should be known and stored securely by yourself only. This password will eventually be asked when you’ll need to transfer your coins or proceed to any critical operations with your wallet.
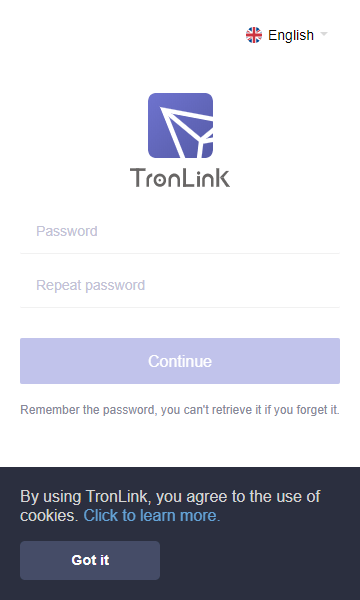
Note for advanced users: this password is used only to encrypt locally on your machine the seed and private key of the wallet. Say if you happen to forget the password but backed up properly the seed and/or the private key of your account, then you’ld be able to retrieve the coins and all the tokens stored on your address.
Wallet Creation
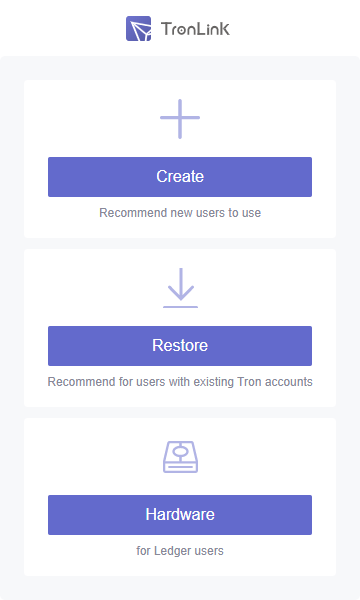
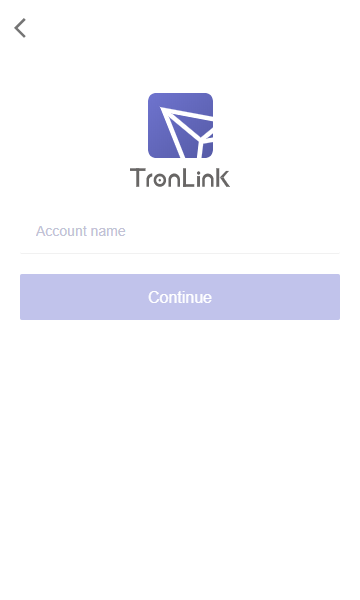
Right after setting your password, Tronlink will ask you what you want to do. Select Create to create a new wallet.
It asks you then to name the wallet. This is not extremely important, it’s only a way to make out which is which in case you have several wallets.
Backup your seed
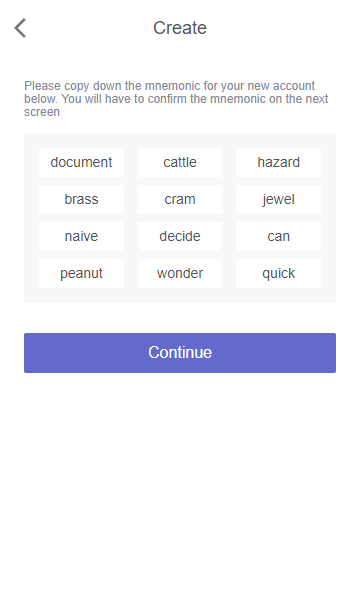
TronLink will then ask you to write down a mnemonic, also known as a seed or a pass-phrase. You might want to back it up very safely, where it cannot be stolen by a third party. So this is definitively not a screenshot stored on a computer, but an old pen and paper for example. The seed will be your only way to retrieve your wallets in case of a crash, a robbery or if an elephant stomps your device flat. In addition, the seed will make possible to access your wallet even from another application, not only from TronLink. This is the key to a fascinating and powerful feature of blockchains known as the HD wallet. For further read, check this blog entry.
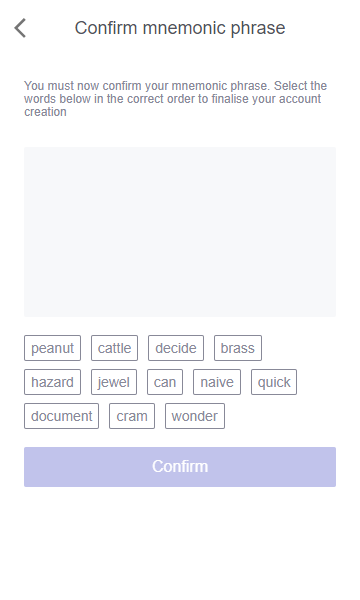
Once you carefully wrote down the seed, the application will ask you to confirm you did it. Select then the words of your seed in the right order.
Open your new wallet
And that’s it, you just created a new TRX wallet with TronLink. If you did it properly you should now get that:
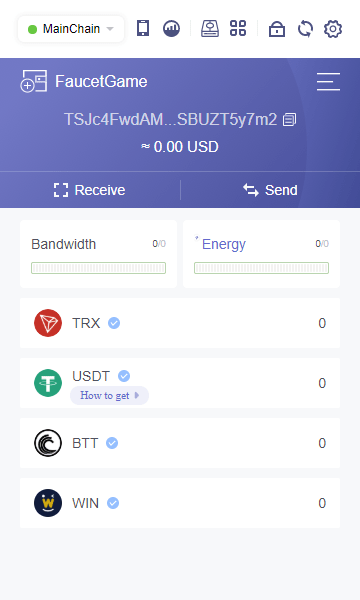
In this example, my wallet public address later used to receive tokens is TSJc4FwdAMJL5bE3cmVuW8suSBUZT5y7m2
Notice that this address is common to TRX (TRON), but also to other currencies, known as TRC-10 and TRC-20 tokens, running on the TRON network.
TronLink chooses to highlight USDT, BTT and WIN by default, but it is possible to manually add others.
Add a token
Although TronLink would add automatically a token you received on the address, you might want to add manually a token you’ld like to see appear on your wallet.
I chose the infamous FGN token for this example. To make it appear in your assets’ list, go to the menu icon on the top right of TronLink, select Asset management, enter FGN in the Add tokens‘ search box, and finally tick the switch that’ll appear. See the following video for further guidance.